How To Make Fake Stained Glass
This workshop shows you how to make your very own fake stained glass window to illustrate your favourite myth or a myth which you have written.
MATERIALS YOU WILL NEED
Acetate sheet
Acrylic paints
Brush
Sellotape
Paper
Pen
METHOD
Decide on myth / story you will be illustrating
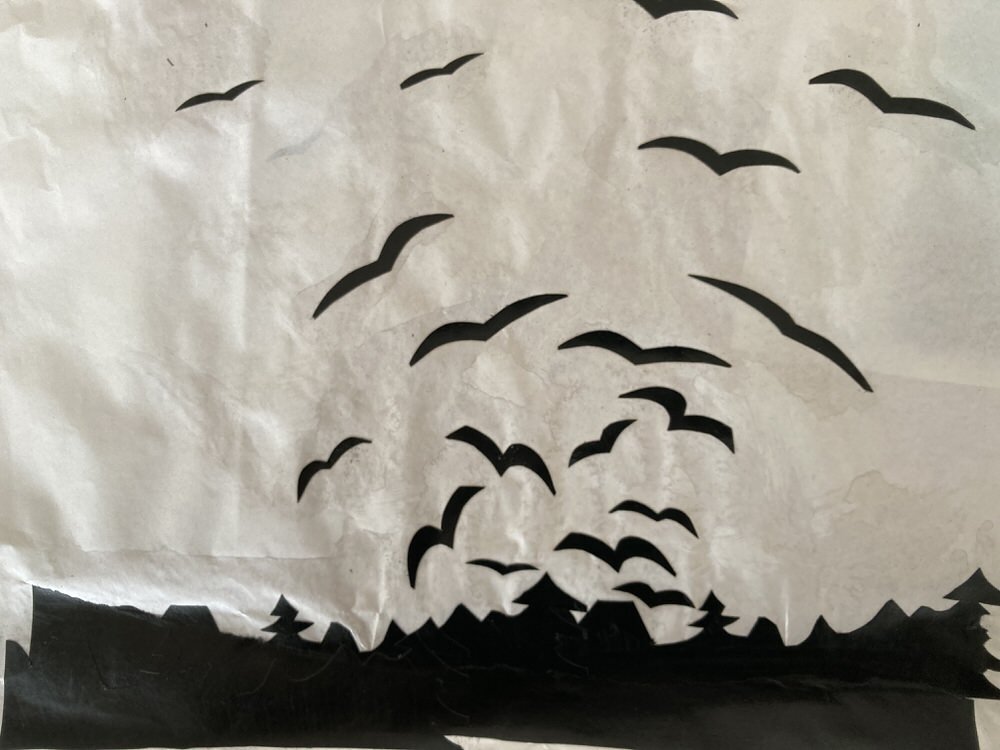
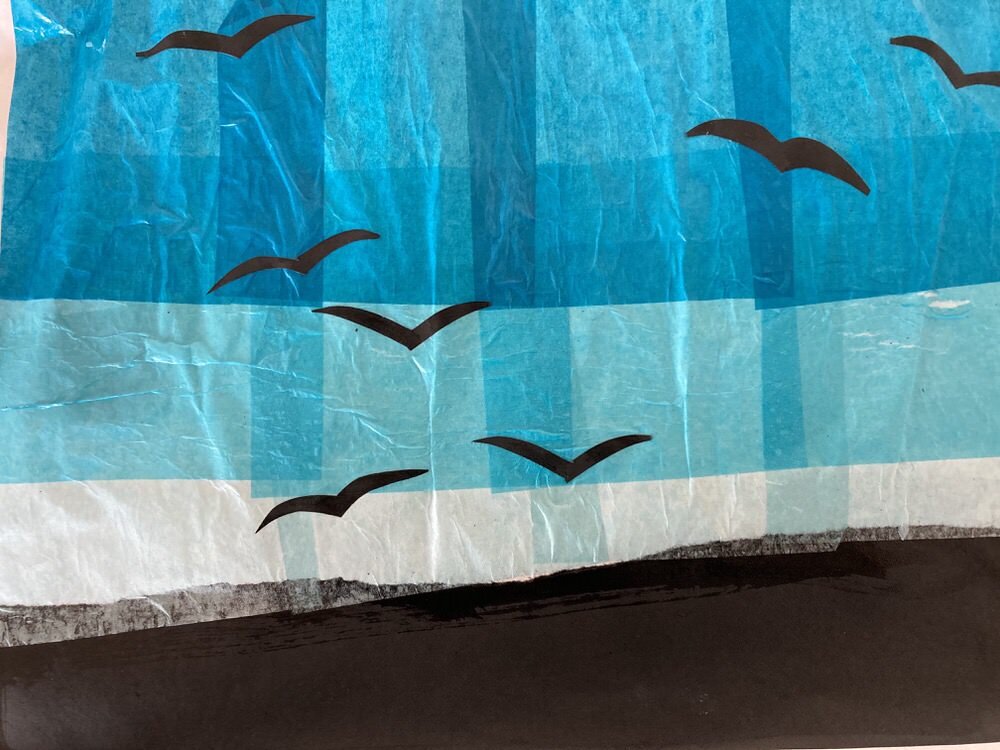
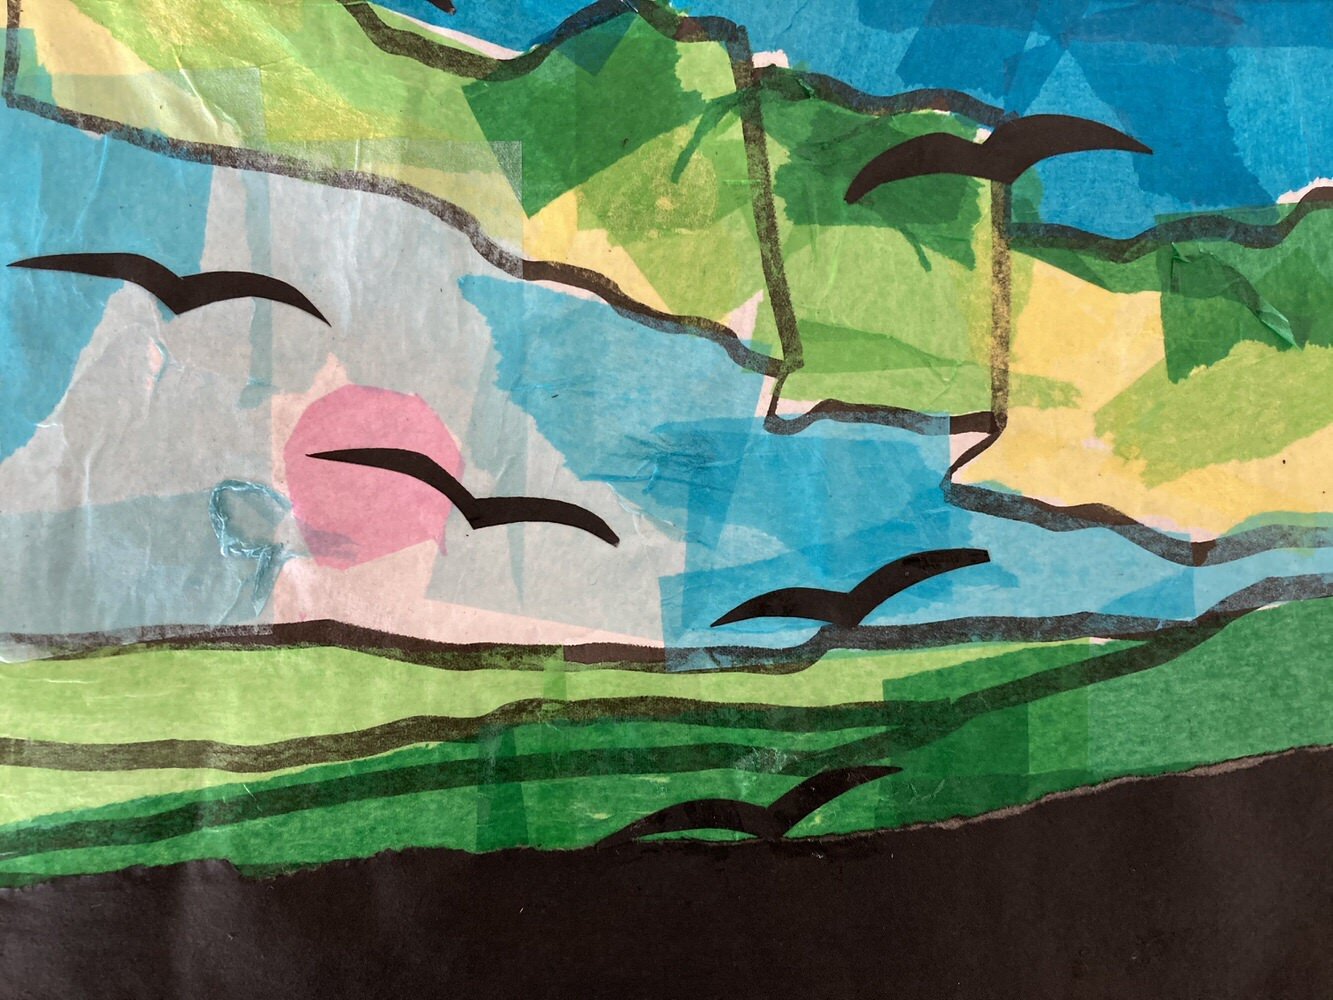
Pick out an element of the story – this could be a full scene or it could be a simple element for example the milky way from the Lindu story that Malcom has read us, or the birds
Sketch out a few ideas – keep it simple – start with a line drawing and then work out the blocks of colours. Mark colours on your sketch for reference
Measure the window you will be using
Stick scrap paper together to the size of the window
Sketch out your design large scale and mark out what colours you will use
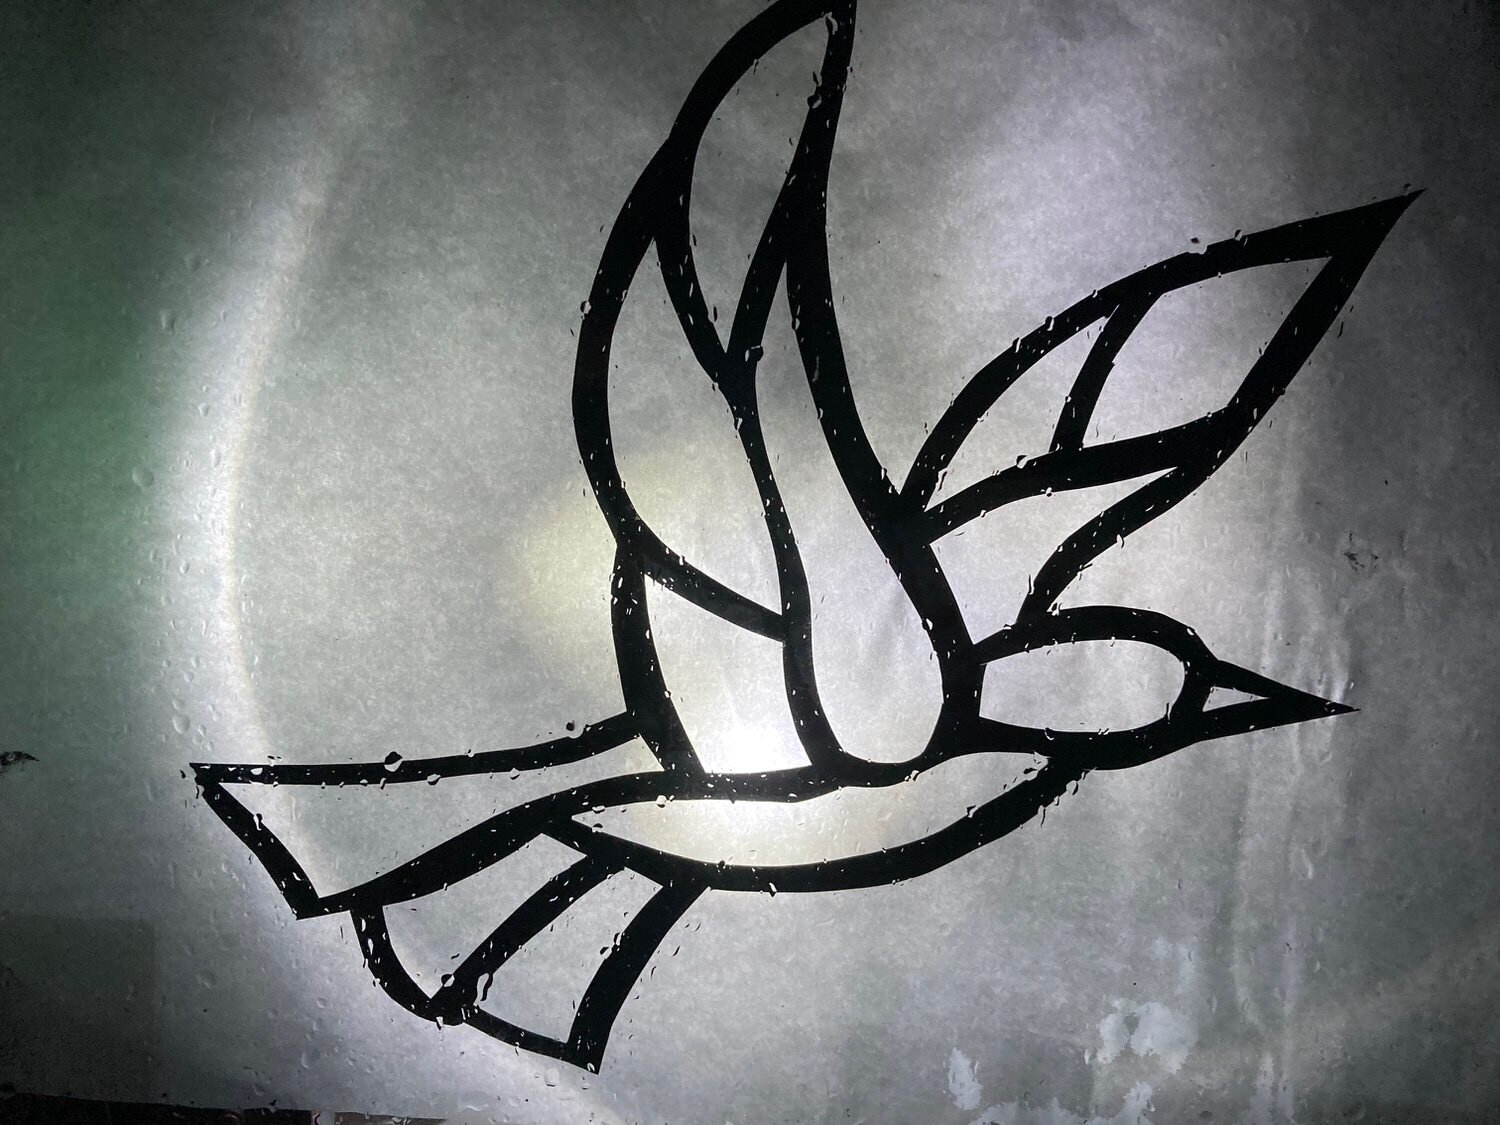
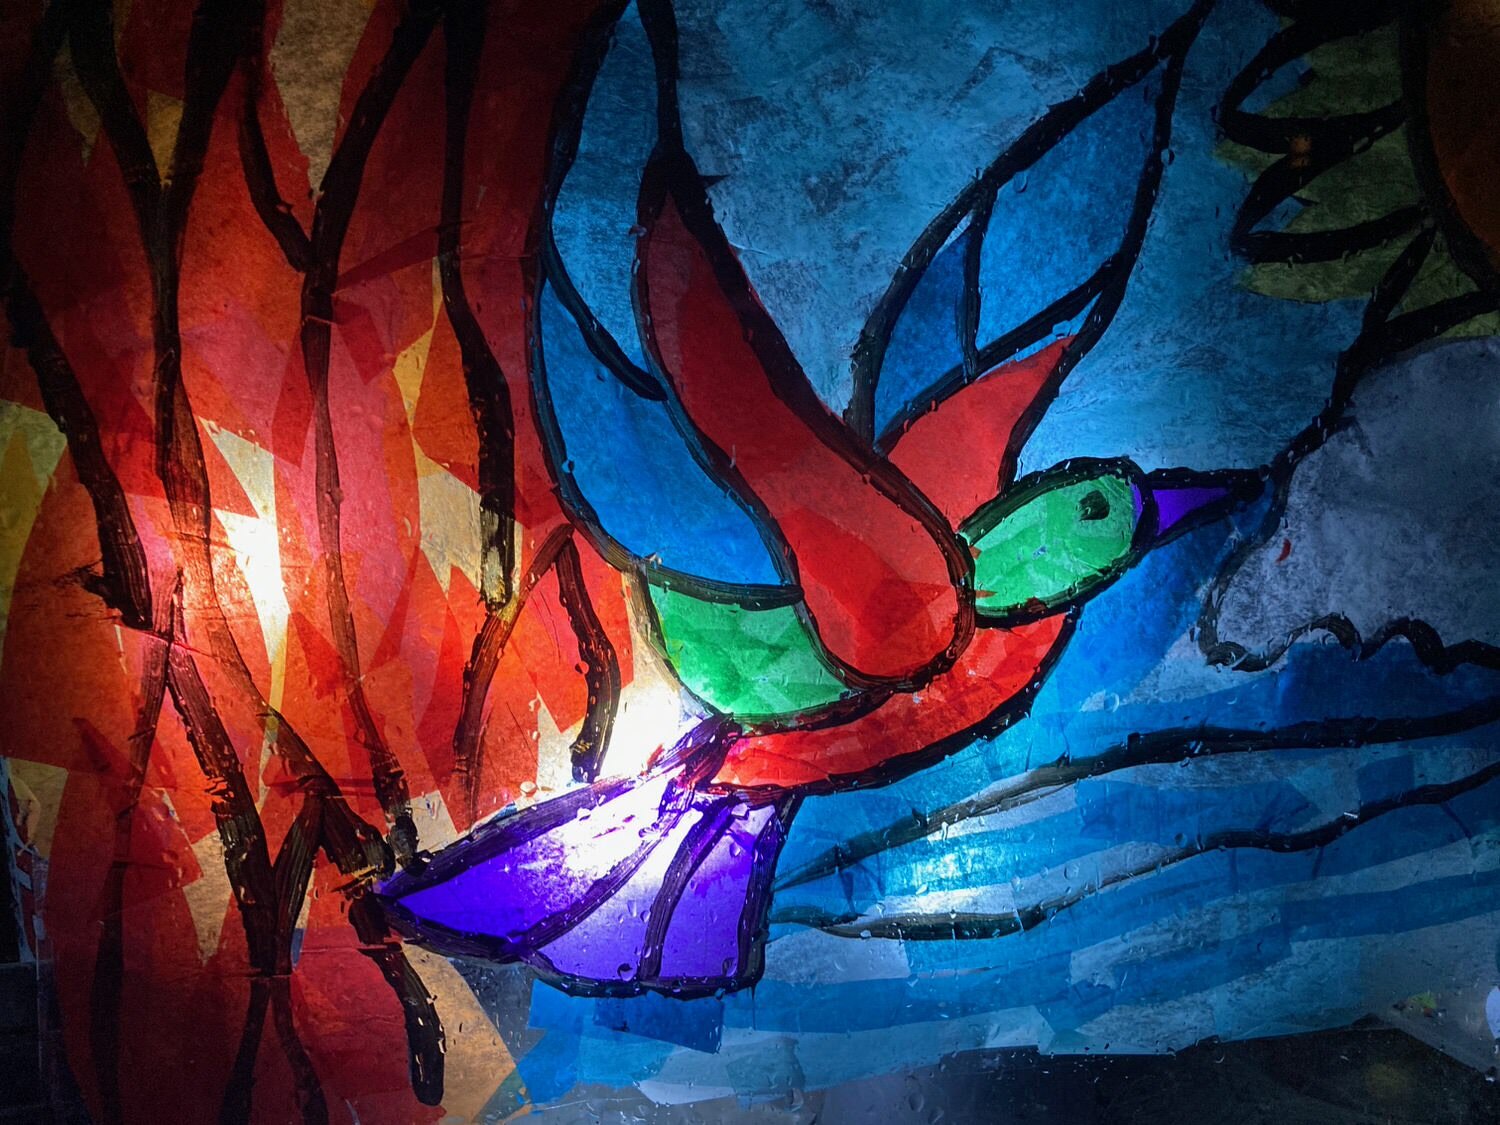
Lay your acetate over the design
Use acrylic paints to paint in blocks of colour
Fill a small plastic bag with black acrylic paint
Snip a corner with a tiny hole
Squeeze out the black paint through the hole painting lines around the blocks of colour – like icing a cake
Leave to dry
Once dry stick your sheet up against the window with the black lines nearest the glass
Place a light source behind the window
Don’t forget to send us a photo - we’d love to see it!